 EveryCutFile
Pantry label frame: rounded rectangle
76 × 42 mm (2.99 × 1.65 in) finished layout
One-piece blank label; add your own text.
See the file and download →Page 3 of the original SVG design library: compare dimensions and download individual files.
Showing 97–144 of 240 designs. Filters search the complete library.
No designs match. Clear a filter or browse the complete packs.
76 × 42 mm (2.99 × 1.65 in) finished layout
One-piece blank label; add your own text.
See the file and download →
60 × 62 mm (2.36 × 2.44 in) finished layout
One-piece blank label; add your own text.
See the file and download →
76 × 42 mm (2.99 × 1.65 in) finished layout
One-piece blank label; add your own text.
See the file and download →
76 × 42 mm (2.99 × 1.65 in) finished layout
One-piece blank label; add your own text.
See the file and download →
76 × 42 mm (2.99 × 1.65 in) finished layout
Blank base and separate 5 mm border; align the two at their original size.
See the file and download →
76 × 42 mm (2.99 × 1.65 in) finished layout
Blank base and separate 5 mm border; align the two at their original size.
See the file and download →
100 × 35 mm (3.94 × 1.38 in) finished layout
One-piece blank label; add your own text.
See the file and download →
90 × 60 mm (3.54 × 2.36 in) finished layout
One-piece blank label; add your own text.
See the file and download →
60 × 65 mm (2.36 × 2.56 in) finished layout
One-piece blank label; add your own text.
See the file and download →
95 × 40 mm (3.74 × 1.57 in) finished layout
One-piece blank label; add your own text.
See the file and download →
100 × 40 mm (3.94 × 1.57 in) finished layout
Blank base and separate 5 mm border; align the two at their original size.
See the file and download →
70 × 50 mm (2.76 × 1.97 in) finished layout
Blank base and separate 5 mm border; align the two at their original size.
See the file and download →
30 × 55 mm (1.18 × 2.17 in) finished layout
30 × 55 mm tag base.
See the file and download →
64 × 28 mm (2.52 × 1.1 in) finished layout
64 × 28 mm tag base.
See the file and download →
95 × 24 mm (3.74 × 0.94 in) finished layout
Loop-style tie-on blank with an 18 × 4 mm slot at the left edge; use a separate tie.
See the file and download →
105 × 24 mm (4.13 × 0.94 in) file canvas
10 mm neck and 45 × 24 mm flag; fold guide at x=30 mm. This is an adhesive wrap shape without a mechanical closure.
See the file and download →
120 × 36 mm (4.72 × 1.42 in) file canvas
16 mm neck and 55 × 36 mm flag; fold guide at x=32 mm. Adhesive wrap shape without a mechanical closure.
See the file and download →
70 × 38 mm (2.76 × 1.5 in) finished layout
70 × 38 mm tag base.
See the file and download →
55 × 60 mm (2.17 × 2.36 in) finished layout
One-piece blank label; add your own text.
See the file and download →
80 × 30 mm (3.15 × 1.18 in) finished layout
One-piece blank label; add your own text.
See the file and download →
70 × 45 mm (2.76 × 1.77 in) finished layout
One-piece blank label; add your own text.
See the file and download →
35 × 50 mm (1.38 × 1.97 in) finished layout
Simple solid leaf.
See the file and download →
36 × 40 mm (1.42 × 1.57 in) finished layout
Connected stylized sprig. Preserve all overlapping contours as one union before cutting.
See the file and download →
41 × 60 mm (1.61 × 2.36 in) finished layout
Connected generic branching root symbol.
See the file and download →
65 × 70 mm (2.56 × 2.76 in) file canvas
44 × 70 mm tag base with a separate 14 × 23 mm accent.
See the file and download →
44 × 70 mm (1.73 × 2.76 in) finished layout
44 × 70 mm tag base.
See the file and download →
65 × 70 mm (2.56 × 2.76 in) file canvas
44 × 70 mm tag base with a separate 14 × 23 mm accent.
See the file and download →
44 × 70 mm (1.73 × 2.76 in) finished layout
44 × 70 mm tag base.
See the file and download →
65 × 70 mm (2.56 × 2.76 in) file canvas
44 × 70 mm tag base with a separate 14 × 23 mm accent.
See the file and download →
60 × 60 mm (2.36 × 2.36 in) finished layout
60 × 60 mm tag base.
See the file and download →
65 × 70 mm (2.56 × 2.76 in) file canvas
44 × 70 mm tag base with a separate 14 × 23 mm accent.
See the file and download →
44 × 70 mm (1.73 × 2.76 in) finished layout
44 × 70 mm tag base.
See the file and download →
100 × 45 mm (3.94 × 1.77 in) finished layout
100 × 90 mm flat bounding box; fold at y=45 mm for a 100 × 45 mm maximum folded face.
See the file and download →
100 × 45 mm (3.94 × 1.77 in) finished layout
100 × 90 mm flat bounding box; fold at y=45 mm for a 100 × 45 mm maximum folded face.
See the file and download →
100 × 45 mm (3.94 × 1.77 in) finished layout
100 × 90 mm flat bounding box; fold at y=45 mm for a 100 × 45 mm maximum folded face.
See the file and download →
132 × 75 mm (5.2 × 2.95 in) file canvas
65 × 65 mm window cutting contour plus a separate 57 × 57 mm decorative inset. The smaller panel fits inside the opening; it is not a backing panel.
See the file and download →
132 × 75 mm (5.2 × 2.95 in) file canvas
65 × 75 mm window cutting contour plus a separate 57 × 67 mm decorative inset. The smaller panel fits inside the opening; it is not a backing panel.
See the file and download →
132 × 75 mm (5.2 × 2.95 in) file canvas
65 × 75 mm window cutting contour plus a separate 57 × 67 mm decorative inset. The smaller panel fits inside the opening; it is not a backing panel.
See the file and download →
132 × 75 mm (5.2 × 2.95 in) file canvas
65 × 75 mm window cutting contour plus a separate 57 × 67 mm decorative inset. The smaller panel fits inside the opening; it is not a backing panel.
See the file and download →
132 × 75 mm (5.2 × 2.95 in) file canvas
65 × 75 mm window cutting contour plus a separate 57 × 67 mm decorative inset. The smaller panel fits inside the opening; it is not a backing panel.
See the file and download →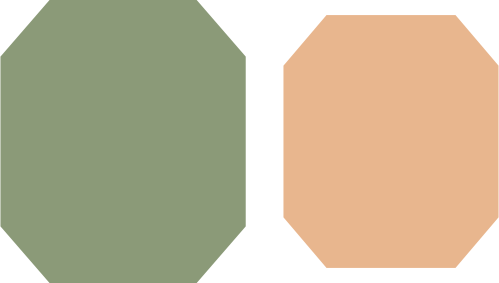
132 × 75 mm (5.2 × 2.95 in) file canvas
65 × 75 mm window cutting contour plus a separate 57 × 67 mm decorative inset. The smaller panel fits inside the opening; it is not a backing panel.
See the file and download →
180 × 24 mm (7.09 × 0.94 in) file canvas
180 × 24 mm straight band example, with fold guides at x=40, 70, 110 and 140 mm.
See the file and download →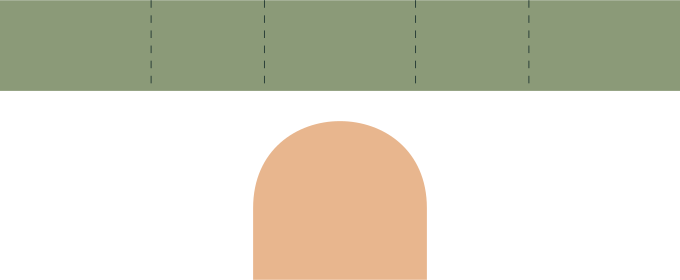
180 × 74 mm (7.09 × 2.91 in) file canvas
180 × 24 mm straight band example, with fold guides at x=40, 70, 110 and 140 mm; separate 46 × 42 mm front plaque.
See the file and download →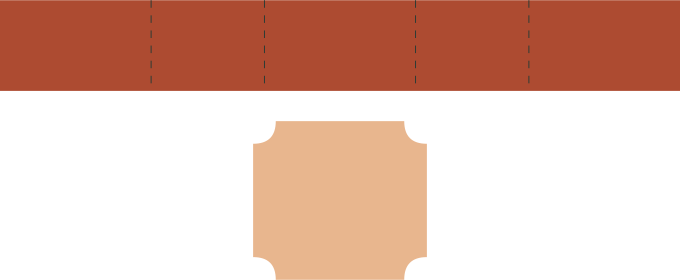
180 × 74 mm (7.09 × 2.91 in) file canvas
180 × 24 mm straight band example, with fold guides at x=40, 70, 110 and 140 mm; separate 46 × 42 mm front plaque.
See the file and download →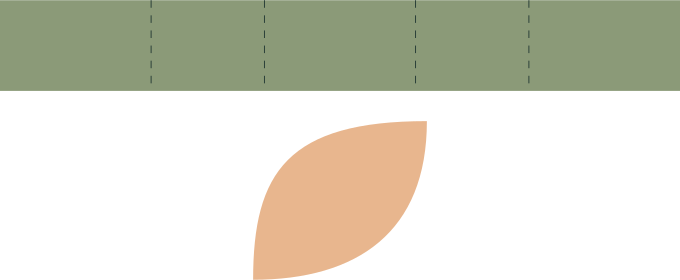
180 × 74 mm (7.09 × 2.91 in) file canvas
180 × 24 mm straight band example, with fold guides at x=40, 70, 110 and 140 mm; separate 46 × 42 mm front plaque.
See the file and download →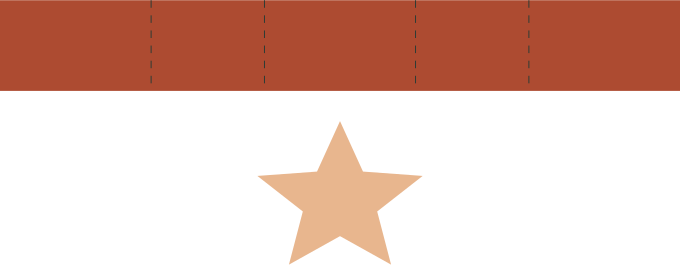
180 × 74 mm (7.09 × 2.91 in) file canvas
180 × 24 mm straight band example, with fold guides at x=40, 70, 110 and 140 mm; separate 46 × 42 mm front plaque.
See the file and download →
70 × 75 mm (2.76 × 2.95 in) finished layout
70 × 75 mm stylized maple silhouette.
See the file and download →
58 × 76 mm (2.28 × 2.99 in) finished layout
64 × 76 mm stylized oak silhouette.
See the file and download →
45 × 70 mm (1.77 × 2.76 in) finished layout
45 × 70 mm tag base.
See the file and download →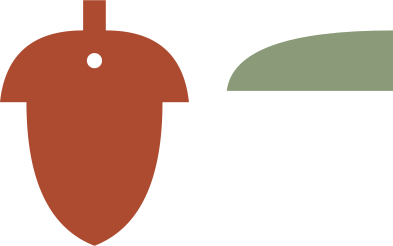
104 × 65 mm (4.09 × 2.56 in) file canvas
Acorn silhouette with separate cap accent.
See the file and download →
35 × 48 mm (1.38 × 1.89 in) finished layout
35 × 48 mm tag base.
See the file and download →
64 × 80 mm (2.52 × 3.15 in) finished layout
64 × 80 mm hanging base.
See the file and download →
64 × 80 mm (2.52 × 3.15 in) finished layout
64 × 80 mm hanging base.
See the file and download →
64 × 64 mm (2.52 × 2.52 in) finished layout
64 × 64 mm hanging base.
See the file and download →
64 × 80 mm (2.52 × 3.15 in) finished layout
64 × 80 mm hanging base.
See the file and download →
116 × 80 mm (4.57 × 3.15 in) file canvas
64 × 80 mm hanging base and separate 42 × 48 mm inset.
See the file and download →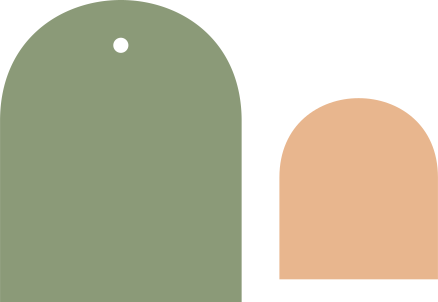
116 × 80 mm (4.57 × 3.15 in) file canvas
64 × 80 mm hanging base and separate 42 × 48 mm inset.
See the file and download →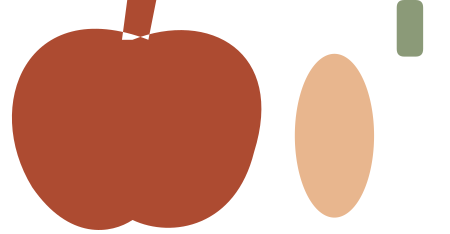
70 × 62 mm (2.76 × 2.44 in) finished layout
Original pumpkin silhouette plus separate oval center panel and stem. Center the panel on the silhouette after cutting.
See the file and download →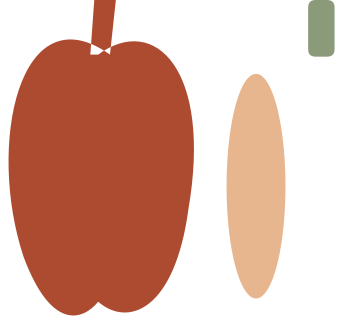
52 × 85 mm (2.05 × 3.35 in) finished layout
Original pumpkin silhouette plus separate oval center panel and stem. Center the panel on the silhouette after cutting.
See the file and download →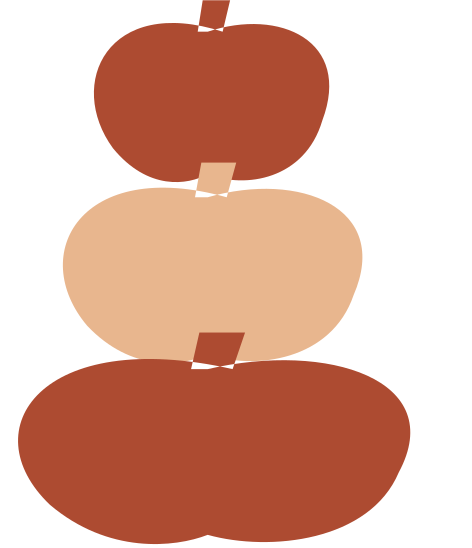
125 × 145 mm (4.92 × 5.71 in) file canvas
Three overlapping pumpkin silhouettes arranged as a stack. Weld for one silhouette, or keep separate for three layers.
See the file and download →
35 × 40 mm (1.38 × 1.57 in) finished layout
Solid tapered pumpkin leaf.
See the file and download →
57.25 × 39 mm (2.25 × 1.54 in) finished layout
Closed 4 mm nominal-width curling vine silhouette.
See the file and download →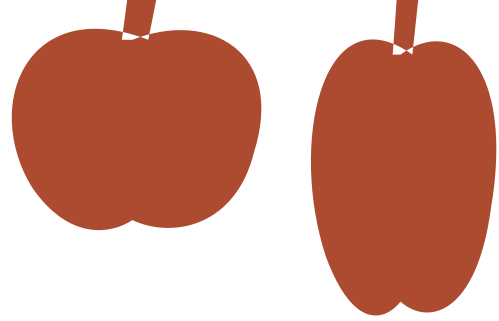
132 × 85 mm (5.2 × 3.35 in) file canvas
Separate round 70 × 62 mm and tall 52 × 85 mm one-layer silhouettes.
See the file and download →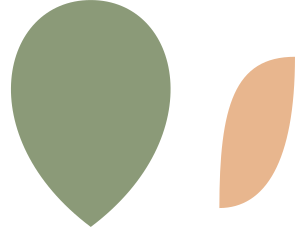
78 × 60 mm (3.07 × 2.36 in) file canvas
Broad rounded solid leaf. Separate 20 × 40 mm optional inset; align at the base center.
See the file and download →
56 × 85 mm (2.2 × 3.35 in) file canvas
Long tapered solid leaf. Separate 14 × 60 mm optional inset; align inside the leaf.
See the file and download →
44 × 68 mm (1.73 × 2.68 in) finished layout
Connected stylized sprig. Preserve all overlapping contours as one union before cutting.
See the file and download →
51 × 85 mm (2.01 × 3.35 in) finished layout
Connected stylized sprig. Preserve all overlapping contours as one union before cutting.
See the file and download →
61 × 100 mm (2.4 × 3.94 in) finished layout
Connected stylized sprig. Preserve all overlapping contours as one union before cutting.
See the file and download →
110 × 90 mm (4.33 × 3.54 in) file canvas
Two separate connected sprigs, 48 × 90 mm and 48 × 72 mm, for a paired composition.
See the file and download →
50 × 150 mm (1.97 × 5.91 in) finished layout
A single connected sign face and pointed stake. The file does not specify an outdoor material or service life.
See the file and download →
55 × 35 mm (2.17 × 1.38 in) finished layout
A rounded label with two slots for a separate tie. Measure your scoop handle and tie; this is not a spring clip.
See the file and download →
44 × 72 mm (1.73 × 2.83 in) finished layout
An original rectangle tag with a central hanging hole. Add wording away from the hole.
See the file and download →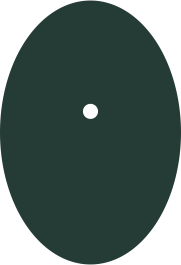
48 × 70 mm (1.89 × 2.76 in) finished layout
An original oval tag with a central hanging hole. Add wording away from the hole.
See the file and download →
50 × 70 mm (1.97 × 2.76 in) finished layout
An original house tag with a central hanging hole. Add wording away from the hole.
See the file and download →
58.97 × 56.08 mm (2.32 × 2.21 in) finished layout
An original star tag with a central hanging hole. Add wording away from the hole.
See the file and download →
58 × 57.95 mm (2.28 × 2.28 in) finished layout
An original heart tag with a central hanging hole. Add wording away from the hole.
See the file and download →
48.48 × 68 mm (1.91 × 2.68 in) finished layout
An original bauble tag with a central hanging hole. Add wording away from the hole.
See the file and download →
45.26 × 69.74 mm (1.78 × 2.75 in) finished layout
An original mitten tag with a central hanging hole. Add wording away from the hole.
See the file and download →
54 × 76 mm (2.13 × 2.99 in) finished layout
An original tree tag with a central hanging hole. Add wording away from the hole.
See the file and download →
65 × 65 mm (2.56 × 2.56 in) finished layout
An original starburst tag with a central hanging hole. Add wording away from the hole.
See the file and download →
59.48 × 58 mm (2.34 × 2.28 in) finished layout
An original pumpkin tag with a central hanging hole. Add wording away from the hole.
See the file and download →
38.2 × 68.76 mm (1.5 × 2.71 in) finished layout
An original bunny tag with a central hanging hole. Add wording away from the hole.
See the file and download →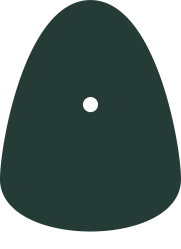
48 × 61.38 mm (1.89 × 2.42 in) finished layout
An original egg tag with a central hanging hole. Add wording away from the hole.
See the file and download →
60 × 64 mm (2.36 × 2.52 in) finished layout
An original gift tag with a central hanging hole. Add wording away from the hole.
See the file and download →
52 × 65 mm (2.05 × 2.56 in) finished layout
An original bell tag with a central hanging hole. Add wording away from the hole.
See the file and download →
59.41 × 42.18 mm (2.34 × 1.66 in) finished layout
An original cloud tag with a central hanging hole. Add wording away from the hole.
See the file and download →
65 × 38 mm (2.56 × 1.5 in) finished layout
An original flag tag with a central hanging hole. Add wording away from the hole.
See the file and download →
55 × 75 mm (2.17 × 2.95 in) finished layout
An original bracket gift tag with an enclosed hanging hole.
See the file and download →
48 × 75 mm (1.89 × 2.95 in) finished layout
An original leaf gift tag with an enclosed hanging hole.
See the file and download →
50 × 70 mm (1.97 × 2.76 in) finished layout
An original tab gift tag with an enclosed hanging hole.
See the file and download →
107.95 × 139.7 mm (4.25 × 5.5 in) finished layout
Side fold at 107.95 mm. Nominal folded face: 107.95 × 139.7 mm.
See the file and download →
127 × 177.8 mm (5 × 7 in) finished layout
Side fold at 127 mm. Nominal folded face: 127 × 177.8 mm.
See the file and download →
127 × 127 mm (5 × 5 in) finished layout
Side fold at 127 mm. Nominal folded face: 127 × 127 mm.
See the file and download →
80 × 120 mm (3.15 × 4.72 in) finished layout
4 panels, each 80 × 120 mm, separated by score guides. Fold at the guides; this is a blank base without decoration.
See the file and download →
100 × 90 mm (3.94 × 3.54 in) finished layout
2 panels, each 100 × 90 mm, separated by score guides. Fold at the guides; this is a blank base without decoration.
See the file and download →
112 × 155 mm (4.41 × 6.1 in) finished layout
Fold the side flaps inward, then the bottom flap; join only the overlapping flap edges. The top flap closes last. Nominal pocket dimensions exclude paper thickness.
See the file and download →
160 × 215 mm (6.3 × 8.46 in) finished layout
Fold the side flaps inward, then the bottom flap; join only the overlapping flap edges. The top flap closes last. Nominal pocket dimensions exclude paper thickness.
See the file and download →
135 × 135 mm (5.31 × 5.31 in) finished layout
Fold the side flaps inward, then the bottom flap; join only the overlapping flap edges. The top flap closes last. Nominal pocket dimensions exclude paper thickness.
See the file and download →
90 × 60 mm (3.54 × 2.36 in) finished layout
Fold the side flaps inward, then the bottom flap; join only the overlapping flap edges. The top flap closes last. Nominal pocket dimensions exclude paper thickness.
See the file and download →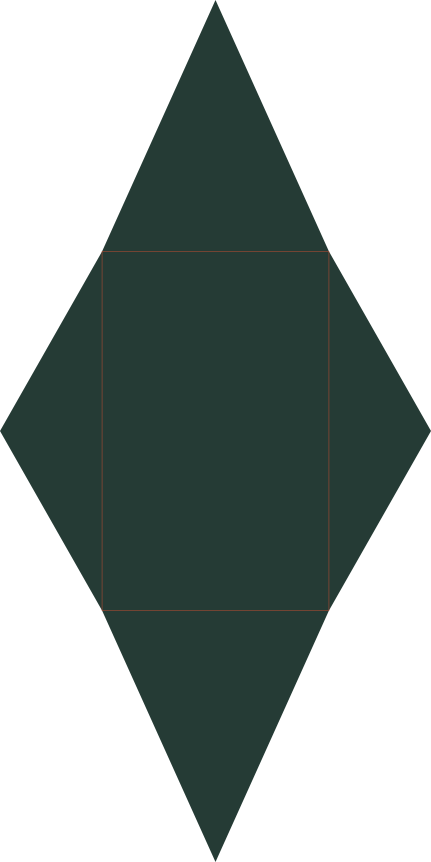
60 × 95 mm (2.36 × 3.74 in) finished layout
Fold the side flaps inward, then the bottom flap; join only the overlapping flap edges. The top flap closes last. Nominal pocket dimensions exclude paper thickness.
See the file and download →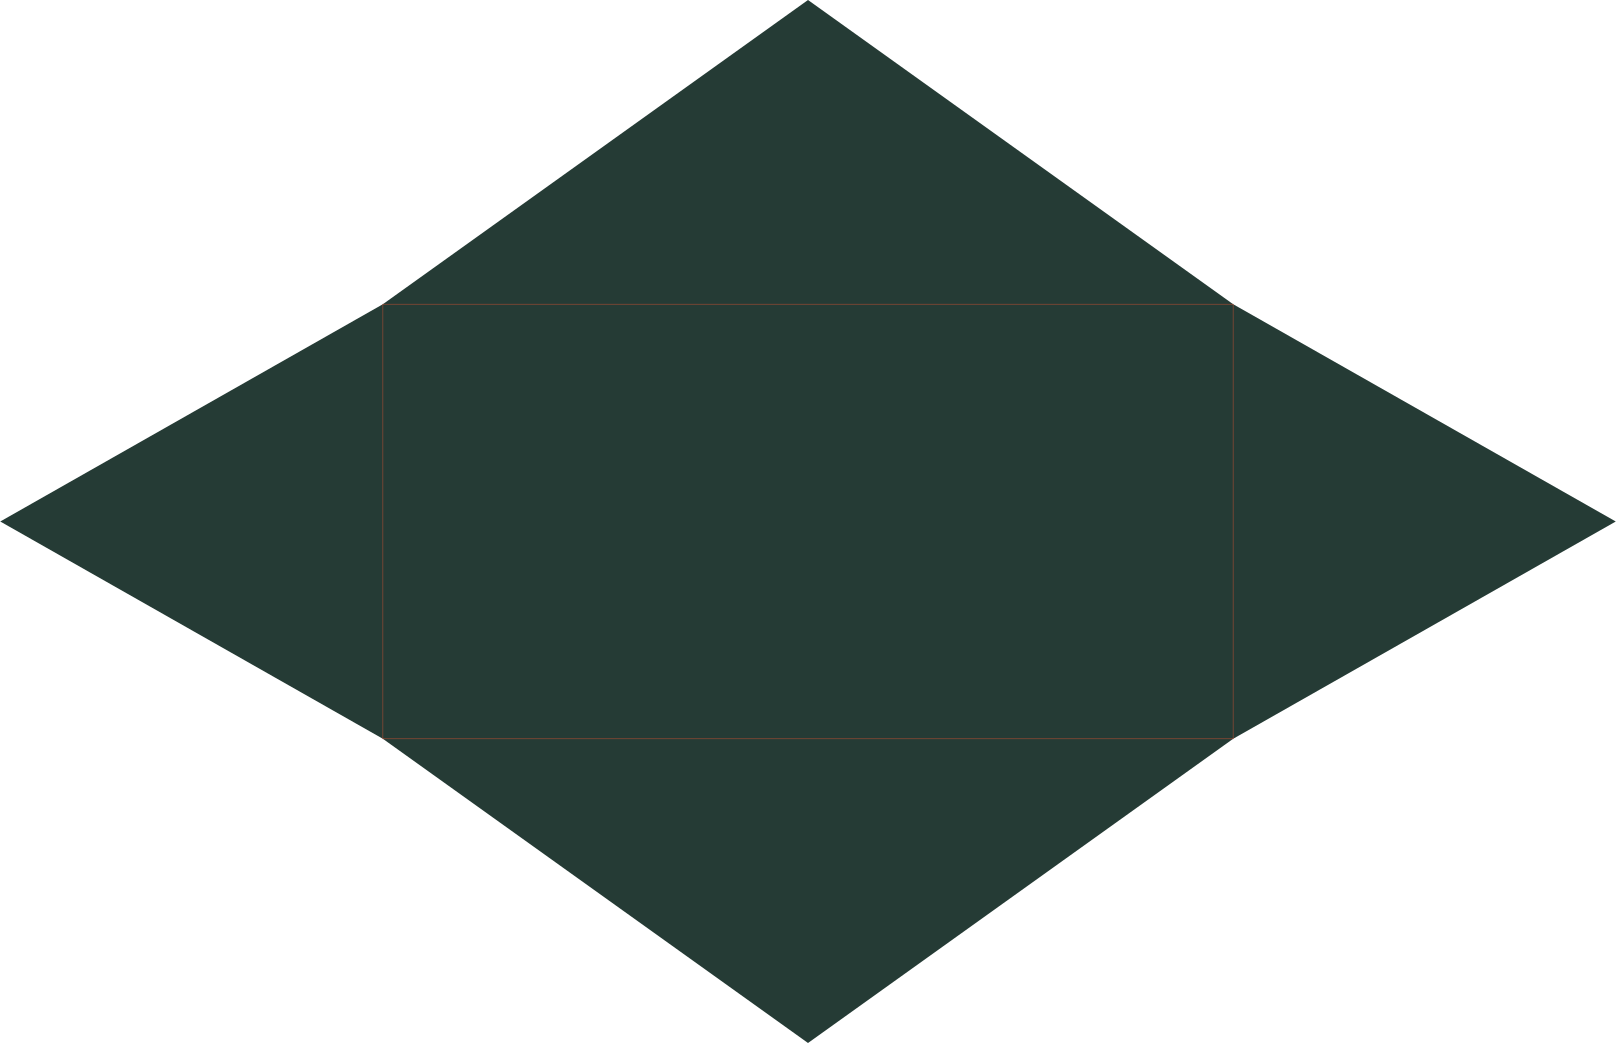
225 × 115 mm (8.86 × 4.53 in) finished layout
Fold the side flaps inward, then the bottom flap; join only the overlapping flap edges. The top flap closes last. Nominal pocket dimensions exclude paper thickness.
See the file and download →
100 × 140 mm (3.94 × 5.51 in) finished layout
An aperture frame and matching back. Add your own transparent front and spacer; this file does not set a fill depth.
See the file and download →
100 × 140 mm (3.94 × 5.51 in) finished layout
Three aperture frames and two scored side strips. Mount the frames along matching pleats; finished depth depends on the opened folds.
See the file and download →
120 × 70 mm (4.72 × 2.76 in) file canvas
A separate symmetric V-fold insert with narrow edge tabs. Centre it across the fold of your own card, position both tabs symmetrically, then check that the card closes before attaching decoration.
See the file and download →
40 × 35 mm (1.57 × 1.38 in) finished layout
Four equal panels and an 8 mm join tab form an open parallelogram sleeve. Join the tab, flatten the sleeve and attach adjacent panels on opposite sides of a card fold. Check the closing movement before decorating.
See the file and download →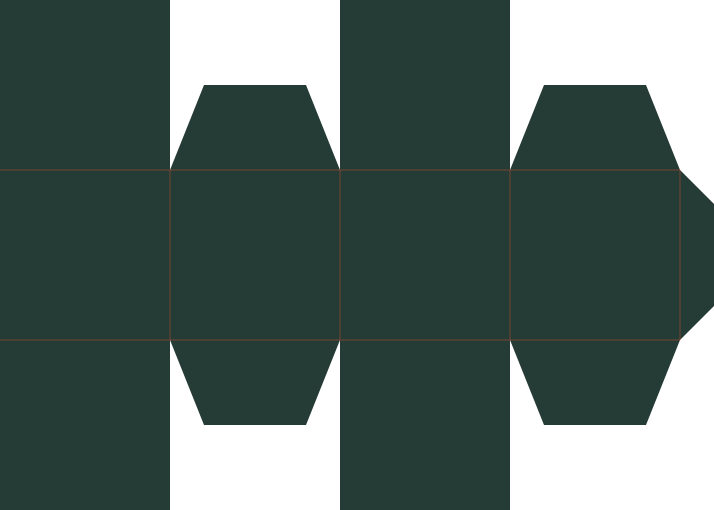
45 × 45 mm (1.77 × 1.77 in) finished layout
Four side panels with top and bottom glue flaps. Join the side tab, fold the short dust flaps inward, then glue the two full-depth rectangular flaps together at each end. Each major flap covers the opening exactly. Nominal dimensions exclude material thickness; this is not a locking tuck.
See the file and download →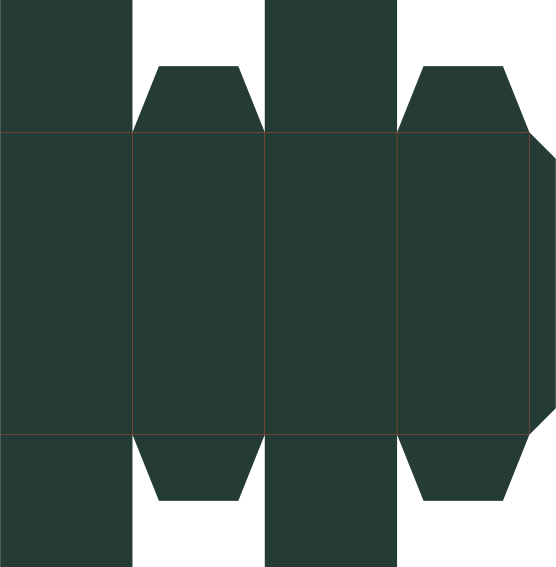
35 × 80 mm (1.38 × 3.15 in) finished layout
Four side panels with top and bottom glue flaps. Join the side tab, fold the short dust flaps inward, then glue the two full-depth rectangular flaps together at each end. Each major flap covers the opening exactly. Nominal dimensions exclude material thickness; this is not a locking tuck.
See the file and download →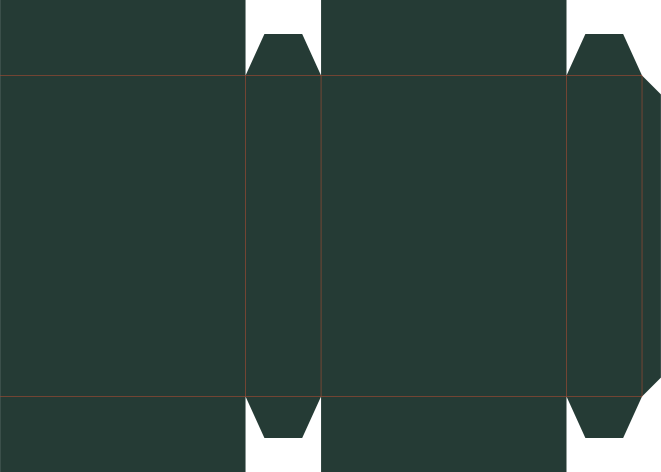
65 × 85 mm (2.56 × 3.35 in) finished layout
Four side panels with top and bottom glue flaps. Join the side tab, fold the short dust flaps inward, then glue the two full-depth rectangular flaps together at each end. Each major flap covers the opening exactly. Nominal dimensions exclude material thickness; this is not a locking tuck.
See the file and download →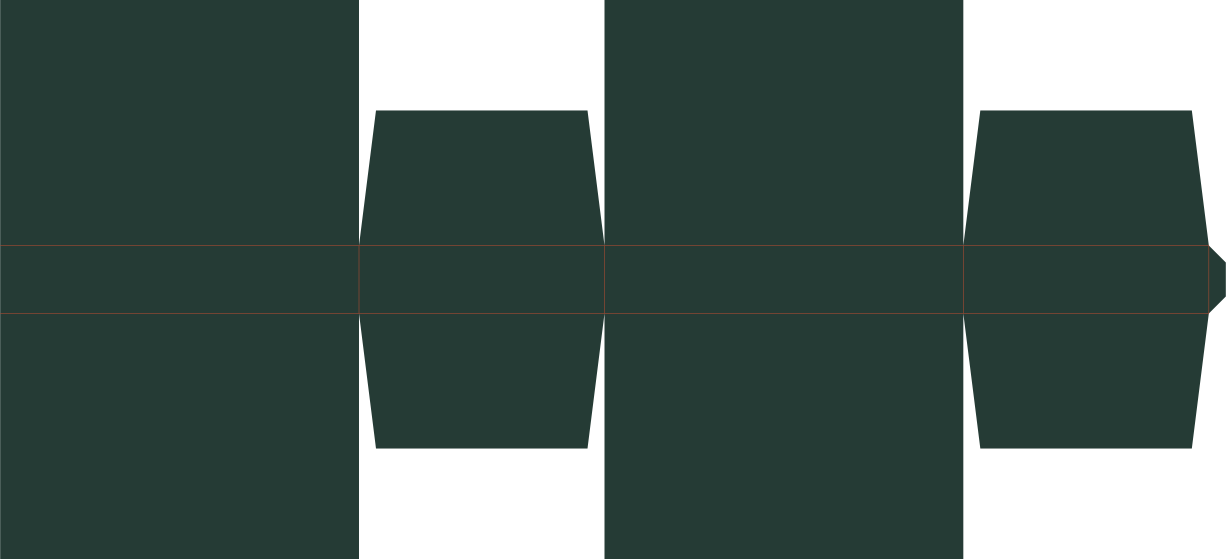
95 × 18 mm (3.74 × 0.71 in) finished layout
Four side panels with top and bottom glue flaps. Join the side tab, fold the short dust flaps inward, then glue the two full-depth rectangular flaps together at each end. Each major flap covers the opening exactly. Nominal dimensions exclude material thickness; this is not a locking tuck.
See the file and download →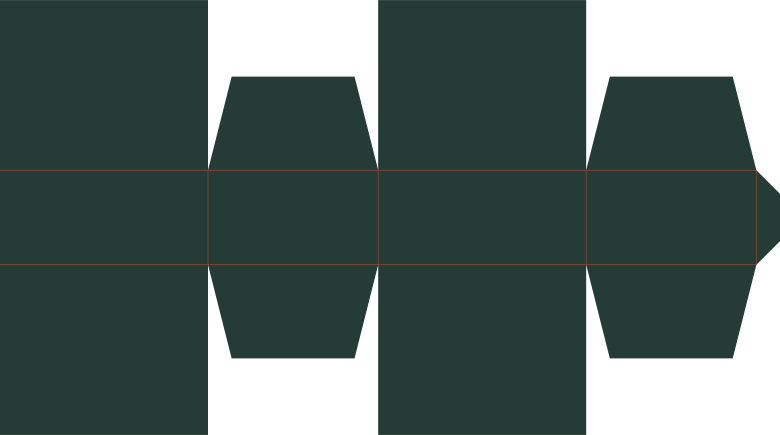
55 × 25 mm (2.17 × 0.98 in) finished layout
Four side panels with top and bottom glue flaps. Join the side tab, fold the short dust flaps inward, then glue the two full-depth rectangular flaps together at each end. Each major flap covers the opening exactly. Nominal dimensions exclude material thickness; this is not a locking tuck.
See the file and download →
165 × 25 mm (6.5 × 0.98 in) finished layout
Four side panels with top and bottom glue flaps. Join the side tab, fold the short dust flaps inward, then glue the two full-depth rectangular flaps together at each end. Each major flap covers the opening exactly. Nominal dimensions exclude material thickness; this is not a locking tuck.
See the file and download →
75 × 75 mm (2.95 × 2.95 in) finished layout
An open tray net without integral glue tabs. Fold the walls up and join the corner seams with your chosen backing strips. The template does not include seam allowance.
See the file and download →
120 × 45 mm (4.72 × 1.77 in) finished layout
An open tray net without integral glue tabs. Fold the walls up and join the corner seams with your chosen backing strips. The template does not include seam allowance.
See the file and download →
110 × 80 mm (4.33 × 3.15 in) finished layout
An open tray net without integral glue tabs. Fold the walls up and join the corner seams with your chosen backing strips. The template does not include seam allowance.
See the file and download →
50 × 40 mm (1.97 × 1.57 in) finished layout
An open tray net without integral glue tabs. Fold the walls up and join the corner seams with your chosen backing strips. The template does not include seam allowance.
See the file and download →
65 × 40 mm (2.56 × 1.57 in) finished layout
An open tray and a separate wrapping sleeve. The sleeve includes 10 mm overlap; adjust clearance for your material.
See the file and download →
95 × 65 mm (3.74 × 2.56 in) finished layout
An open tray and a separate wrapping sleeve. The sleeve includes 10 mm overlap; adjust clearance for your material.
See the file and download →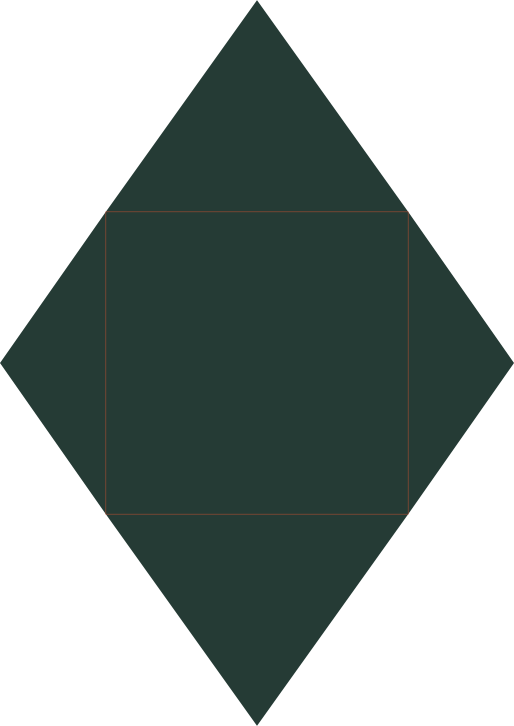
80 × 80 mm (3.15 × 3.15 in) finished layout
Fold the side flaps inward, then the bottom flap; join only the overlapping flap edges. The top flap closes last. Nominal pocket dimensions exclude paper thickness.
See the file and download →
60 × 60 mm (2.36 × 2.36 in) finished layout
Fold the four triangles up around the square base. Their side edges meet at the apex. Join adjoining edges with backing strips; glue tabs are not included.
See the file and download →
85 × 85 mm (3.35 × 3.35 in) finished layout
An open square tapered container, 50 mm at the base and 85 mm at the rim, with 95 mm nominal vertical height. Fold the four sides up and join their edges with backing strips; this net has no integral glue tabs.
See the file and download →
90 × 90 mm (3.54 × 3.54 in) finished layout
An open square tapered container, 65 mm at the base and 90 mm at the rim, with 65 mm nominal vertical height. Fold the four sides up and join their edges with backing strips; this net has no integral glue tabs.
See the file and download →
70 × 90 mm (2.76 × 3.54 in) finished layout
Bring the two straight edges together to form the cone. Use a separate backing strip at the seam; this exact sector includes no overlap. The rim remains open.
See the file and download →
80 × 69.28 mm (3.15 × 2.73 in) finished layout
Fold six rectangular walls around the hexagonal base. Join the corners with separate backing strips. For a lid, allow clearance for your measured material thickness; no universal clearance is assumed.
See the file and download →
84 × 72.75 mm (3.31 × 2.86 in) finished layout
Fold six rectangular walls around the hexagonal base. Join the corners with separate backing strips. For a lid, allow clearance for your measured material thickness; no universal clearance is assumed.
See the file and download →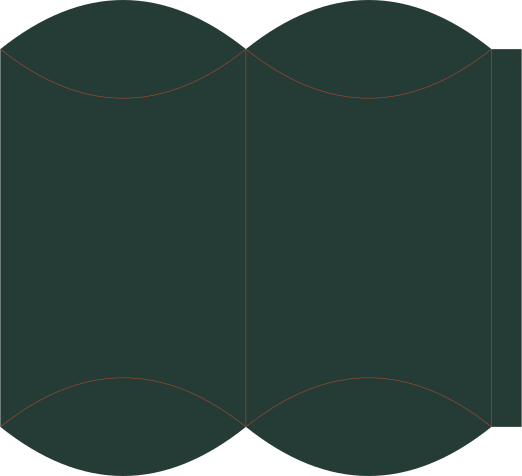
138 × 126 mm (5.43 × 4.96 in) file canvas
Curve the two broad faces into a sleeve, join the narrow side tab and fold the curved end flaps inward. Flat face width is 65 mm and central length is 100 mm; the formed thickness and usable finished length depend on the bend.
See the file and download →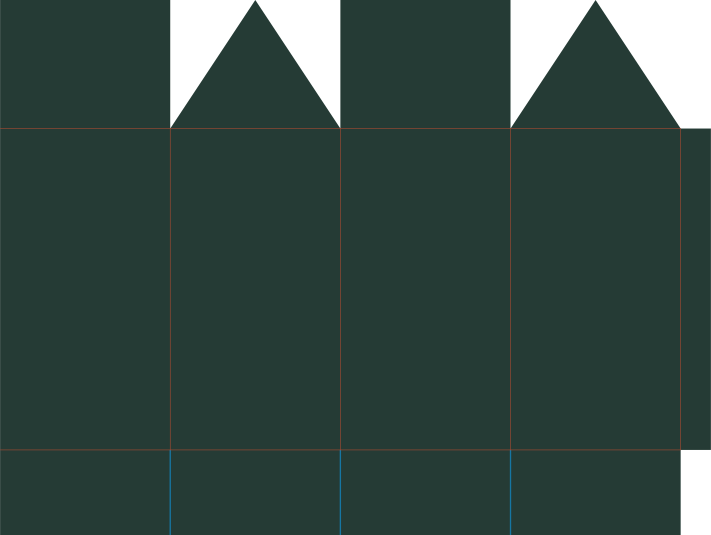
45 × 45 mm (1.77 × 1.77 in) finished layout
Fold four body panels into a tube and join the side tab. Close the short bottom flaps with a separate backing square. Bring the two broad top flaps together over the triangular ends; glue or clip the roof seam. No handle or locking catch is supplied.
See the file and download →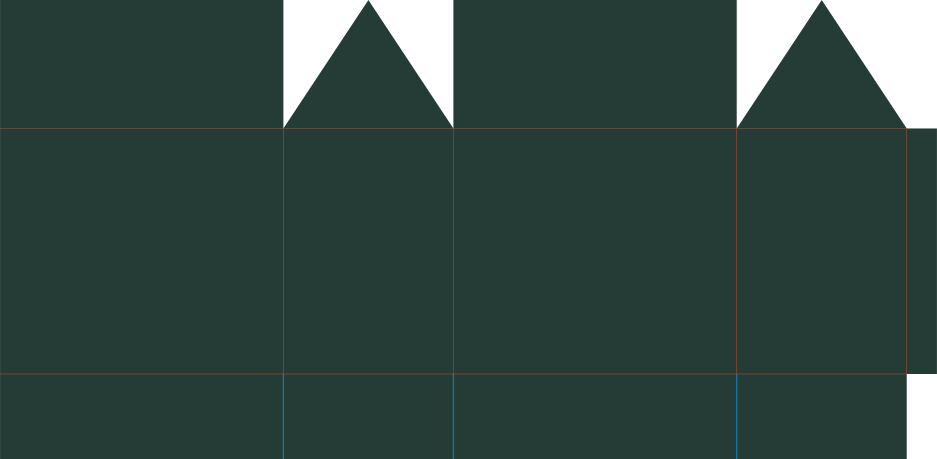
75 × 45 mm (2.95 × 1.77 in) finished layout
Fold four body panels into a tube and join the side tab. Close the short bottom flaps with a separate backing square. Bring the two broad top flaps together over the triangular ends; glue or clip the roof seam. No handle or locking catch is supplied.
See the file and download →
65 × 65 mm (2.56 × 2.56 in) finished layout
An open tray net without integral glue tabs. Fold the walls up and join the corner seams with your chosen backing strips. The template does not include seam allowance.
See the file and download →
80 × 65 mm (3.15 × 2.56 in) finished layout
An open tray net without integral glue tabs. Fold the walls up and join the corner seams with your chosen backing strips. The template does not include seam allowance.
See the file and download →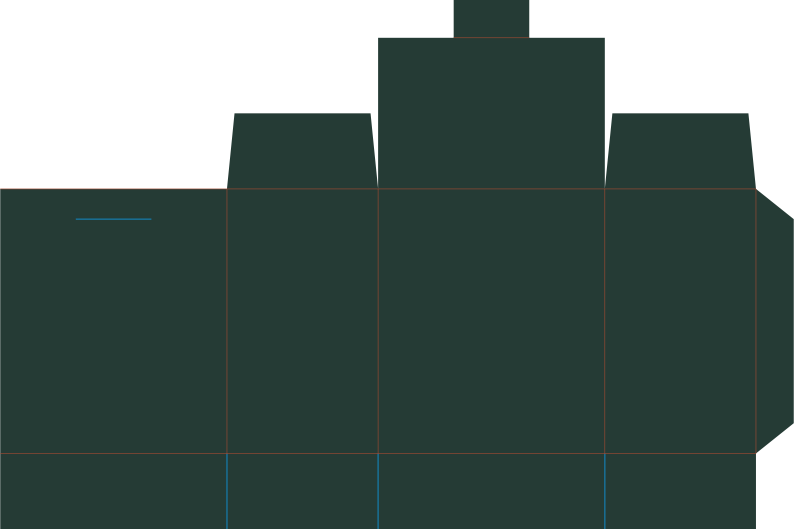
60 × 70 mm (2.36 × 2.76 in) finished layout
Four body panels form a 60 × 40 × 70 mm box. The back lid crosses the 40 mm depth; its 20 mm tongue enters the front slit. Fold the lid tongue, join the side seam and glue the bottom flaps. Slit and tongue are nominal drawing dimensions; adjust their clearance for your material.
See the file and download →
80 × 60 mm (3.15 × 2.36 in) finished layout
A separate tray base and shallow lid. The lid has 2 mm additional nominal width and depth; adjust that drawing clearance for your material.
See the file and download →
90 × 110 mm (3.54 × 4.33 in) finished layout
A hanging panel with two holes. Keep the holes clear of added lettering.
See the file and download →
90 × 110 mm (3.54 × 4.33 in) finished layout
A hanging panel with two holes. Keep the holes clear of added lettering.
See the file and download →
90 × 110 mm (3.54 × 4.33 in) finished layout
A hanging panel with two holes. Keep the holes clear of added lettering.
See the file and download →
90 × 110 mm (3.54 × 4.33 in) finished layout
A hanging panel with two holes. Keep the holes clear of added lettering.
See the file and download →
90 × 110 mm (3.54 × 4.33 in) finished layout
A hanging panel with two holes. Keep the holes clear of added lettering.
See the file and download →
90 × 109.9 mm (3.54 × 4.33 in) finished layout
A hanging panel with two holes. Keep the holes clear of added lettering.
See the file and download →
85.59 × 99.5 mm (3.37 × 3.92 in) finished layout
A hanging panel with two holes. Keep the holes clear of added lettering.
See the file and download →
90 × 110 mm (3.54 × 4.33 in) finished layout
A hanging panel with two holes. Keep the holes clear of added lettering.
See the file and download →
90 × 110 mm (3.54 × 4.33 in) finished layout
A hanging panel with two holes. Keep the holes clear of added lettering.
See the file and download →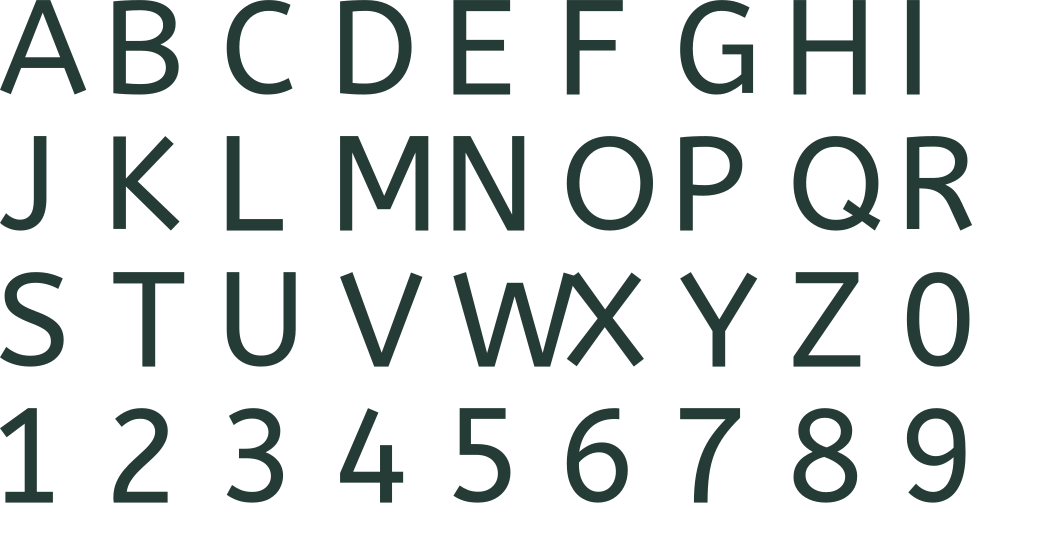
280 × 145 mm (11.02 × 5.71 in) finished layout
Outlined A–Z and 0–9 for adding wording to banner panels. Letters are separate pieces; no joining or stencil bridges are implied.
See the file and download →
39.78 × 60 mm (1.57 × 2.36 in) finished layout
An outlined numeral without a support stem. Enclosed counters are part of the path; the file does not join it to another digit.
See the file and download →
33.6 × 60 mm (1.32 × 2.36 in) finished layout
An outlined numeral without a support stem. Enclosed counters are part of the path; the file does not join it to another digit.
See the file and download →
34.55 × 60 mm (1.36 × 2.36 in) finished layout
An outlined numeral without a support stem. Enclosed counters are part of the path; the file does not join it to another digit.
See the file and download →
35.8 × 60 mm (1.41 × 2.36 in) finished layout
An outlined numeral without a support stem. Enclosed counters are part of the path; the file does not join it to another digit.
See the file and download →
40.06 × 60 mm (1.58 × 2.36 in) finished layout
An outlined numeral without a support stem. Enclosed counters are part of the path; the file does not join it to another digit.
See the file and download →
36.24 × 60 mm (1.43 × 2.36 in) finished layout
An outlined numeral without a support stem. Enclosed counters are part of the path; the file does not join it to another digit.
See the file and download →
38.74 × 60 mm (1.53 × 2.36 in) finished layout
An outlined numeral without a support stem. Enclosed counters are part of the path; the file does not join it to another digit.
See the file and download →
38.06 × 60 mm (1.5 × 2.36 in) finished layout
An outlined numeral without a support stem. Enclosed counters are part of the path; the file does not join it to another digit.
See the file and download →
40.44 × 60 mm (1.59 × 2.36 in) finished layout
An outlined numeral without a support stem. Enclosed counters are part of the path; the file does not join it to another digit.
See the file and download →
37.29 × 60 mm (1.47 × 2.36 in) finished layout
An outlined numeral without a support stem. Enclosed counters are part of the path; the file does not join it to another digit.
See the file and download →
55 × 40 mm (2.17 × 1.57 in) finished layout
A geometric decorative wrapper for a 55 mm top, 55 mm bottom and 40 mm height, with 8 mm overlap. Measure your liner first; this is not a baking liner or a food-contact specification.
See the file and download →
65 × 40 mm (2.56 × 1.57 in) finished layout
A geometric decorative wrapper for a 65 mm top, 45 mm bottom and 40 mm height, with 8 mm overlap. Measure your liner first; this is not a baking liner or a food-contact specification.
See the file and download →
75 × 42 mm (2.95 × 1.65 in) finished layout
A geometric decorative wrapper for a 75 mm top, 50 mm bottom and 42 mm height, with 8 mm overlap. Measure your liner first; this is not a baking liner or a food-contact specification.
See the file and download →
68 × 50 mm (2.68 × 1.97 in) finished layout
A geometric decorative wrapper for a 68 mm top, 45 mm bottom and 50 mm height, with 8 mm overlap. Measure your liner first; this is not a baking liner or a food-contact specification.
See the file and download →
45 × 100 mm (1.77 × 3.94 in) finished layout
A connected star face and paper stem. Choose material and any separate support appropriate to the intended use; no food-contact rating is implied.
See the file and download →
65 × 90 mm (2.56 × 3.54 in) finished layout
A flat hanging ornament with a central hole. Keep the hole and contour at the same scale.
See the file and download →
63.02 × 85 mm (2.48 × 3.35 in) finished layout
A flat hanging ornament with a central hole. Keep the hole and contour at the same scale.
See the file and download →
65 × 90 mm (2.56 × 3.54 in) finished layout
A flat hanging ornament with a central hole. Keep the hole and contour at the same scale.
See the file and download →
80 × 69.28 mm (3.15 × 2.73 in) finished layout
A connected geometric starburst motif with a central hanging hole. The name describes its arms, not a natural crystal.
See the file and download →
76.04 × 77.99 mm (2.99 × 3.07 in) finished layout
A connected geometric starburst motif with a central hanging hole. The name describes its arms, not a natural crystal.
See the file and download →
80 × 80 mm (3.15 × 3.15 in) finished layout
A connected geometric starburst motif with a central hanging hole. The name describes its arms, not a natural crystal.
See the file and download →
77.59 × 78.78 mm (3.05 × 3.1 in) finished layout
A connected geometric starburst motif with a central hanging hole. The name describes its arms, not a natural crystal.
See the file and download →
80 × 76.08 mm (3.15 × 3 in) finished layout
A connected geometric starburst motif with a central hanging hole. The name describes its arms, not a natural crystal.
See the file and download →
78.38 × 79.19 mm (3.09 × 3.12 in) finished layout
A connected geometric starburst motif with a central hanging hole. The name describes its arms, not a natural crystal.
See the file and download →
50 × 50 mm (1.97 × 1.97 in) finished layout
Bring the two straight edges together to form the cone. Use a separate backing strip at the seam; this exact sector includes no overlap. The rim remains open.
See the file and download →
132 × 132 mm (5.2 × 5.2 in) finished layout
A stencil sheet outline and separate enclosed openings. Cut the outer sheet and openings; keep the surrounding sheet.
See the file and download →
108 × 108 mm (4.25 × 4.25 in) finished layout
A stencil sheet outline and separate enclosed openings. Cut the outer sheet and openings; keep the surrounding sheet.
See the file and download →
108 × 84 mm (4.25 × 3.31 in) finished layout
A stencil sheet outline and separate enclosed openings. Cut the outer sheet and openings; keep the surrounding sheet.
See the file and download →
132 × 108 mm (5.2 × 4.25 in) finished layout
A stencil sheet outline and separate enclosed openings. Cut the outer sheet and openings; keep the surrounding sheet.
See the file and download →
108 × 84 mm (4.25 × 3.31 in) finished layout
A stencil sheet outline and separate enclosed openings. Cut the outer sheet and openings; keep the surrounding sheet.
See the file and download →
108 × 84 mm (4.25 × 3.31 in) finished layout
A stencil sheet outline and separate enclosed openings. Cut the outer sheet and openings; keep the surrounding sheet.
See the file and download →
108 × 84 mm (4.25 × 3.31 in) finished layout
A stencil sheet outline and separate enclosed openings. Cut the outer sheet and openings; keep the surrounding sheet.
See the file and download →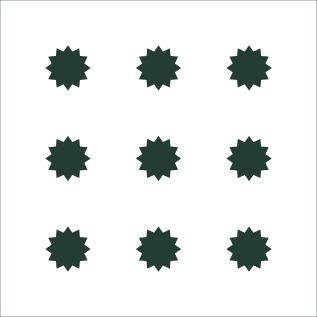
84 × 84 mm (3.31 × 3.31 in) finished layout
A stencil sheet outline and separate enclosed openings. Cut the outer sheet and openings; keep the surrounding sheet.
See the file and download →
156 × 36 mm (6.14 × 1.42 in) finished layout
A stencil sheet outline and separate enclosed openings. Cut the outer sheet and openings; keep the surrounding sheet.
See the file and download →
180 × 36 mm (7.09 × 1.42 in) finished layout
A stencil sheet outline and separate enclosed openings. Cut the outer sheet and openings; keep the surrounding sheet.
See the file and download →
156 × 36 mm (6.14 × 1.42 in) finished layout
A stencil sheet outline and separate enclosed openings. Cut the outer sheet and openings; keep the surrounding sheet.
See the file and download →
132 × 36 mm (5.2 × 1.42 in) finished layout
A stencil sheet outline and separate enclosed openings. Cut the outer sheet and openings; keep the surrounding sheet.
See the file and download →
232 × 168 mm (9.13 × 6.61 in) finished layout
An outlined lettering stencil with a 2 mm vertical material bridge through each character. Counter shapes remain attached to the sheet.
See the file and download →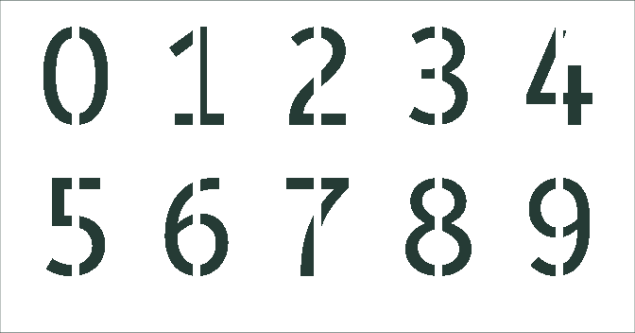
168 × 88 mm (6.61 × 3.46 in) finished layout
An outlined lettering stencil with a 2 mm vertical material bridge through each character. Counter shapes remain attached to the sheet.
See the file and download →
90 × 90 mm (3.54 × 3.54 in) finished layout
An open frame with an inset cutout for your own initials. The enclosed centre is removed; lettering is not included.
See the file and download →
90 × 90 mm (3.54 × 3.54 in) finished layout
A shaped base and a separate name plate. Place the name plate across the base in your editor; the pieces arrive separated.
See the file and download →
110 × 80 mm (4.33 × 3.15 in) finished layout
An open frame with an inset cutout for your own initials. The enclosed centre is removed; lettering is not included.
See the file and download →
110 × 80 mm (4.33 × 3.15 in) finished layout
A shaped base and a separate name plate. Place the name plate across the base in your editor; the pieces arrive separated.
See the file and download →
85 × 110 mm (3.35 × 4.33 in) finished layout
An open frame with an inset cutout for your own initials. The enclosed centre is removed; lettering is not included.
See the file and download →
85 × 105 mm (3.35 × 4.13 in) finished layout
An open frame with an inset cutout for your own initials. The enclosed centre is removed; lettering is not included.
See the file and download →
85 × 105 mm (3.35 × 4.13 in) finished layout
A shaped base and a separate name plate. Place the name plate across the base in your editor; the pieces arrive separated.
See the file and download →
100 × 100 mm (3.94 × 3.94 in) finished layout
An open frame with an inset cutout for your own initials. The enclosed centre is removed; lettering is not included.
See the file and download →
100 × 100 mm (3.94 × 3.94 in) finished layout
A shaped base and a separate name plate. Place the name plate across the base in your editor; the pieces arrive separated.
See the file and download →
90.93 × 95 mm (3.58 × 3.74 in) finished layout
An open frame with an inset cutout for your own initials. The enclosed centre is removed; lettering is not included.
See the file and download →
105 × 95 mm (4.13 × 3.74 in) finished layout
A shaped base and a separate name plate. Place the name plate across the base in your editor; the pieces arrive separated.
See the file and download →
85 × 110 mm (3.35 × 4.33 in) finished layout
An open frame with an inset cutout for your own initials. The enclosed centre is removed; lettering is not included.
See the file and download →
85 × 110 mm (3.35 × 4.33 in) finished layout
A shaped base and a separate name plate. Place the name plate across the base in your editor; the pieces arrive separated.
See the file and download →
110 × 75 mm (4.33 × 2.95 in) finished layout
An open frame with an inset cutout for your own initials. The enclosed centre is removed; lettering is not included.
See the file and download →
110 × 75 mm (4.33 × 2.95 in) finished layout
A shaped base and a separate name plate. Place the name plate across the base in your editor; the pieces arrive separated.
See the file and download →
324.75 × 226 mm (12.79 × 8.9 in) finished layout
A–Z outlines with a 10 mm open band for separate wording. Each letter is split into upper and lower pieces; bars and a name are not included.
See the file and download →
67.5 × 60 mm (2.66 × 2.36 in) finished layout
Two outlined initials alternate over and under at their overlaps. The crossing gaps are part of the drawing, not a material-safe minimum.
See the file and download →
108.14 × 98.36 mm (4.26 × 3.87 in) finished layout
Separate leaf pieces surround an open centre for your initials. Keep their relative positions when transferring; the leaves are not welded into one ring.
See the file and download →
108.46 × 108 mm (4.27 × 4.25 in) finished layout
Separate leaf pieces surround an open centre for your initials. Keep their relative positions when transferring; the leaves are not welded into one ring.
See the file and download →
108.22 × 85.38 mm (4.26 × 3.36 in) finished layout
Separate leaf pieces surround an open centre for your initials. Keep their relative positions when transferring; the leaves are not welded into one ring.
See the file and download →
98.41 × 65 mm (3.87 × 2.56 in) finished layout
Three outlined initials overlap in separate groups. This example keeps the original letter contours; overlaps are not welded or automatically interwoven.
See the file and download →
140 × 180 mm (5.51 × 7.09 in) finished layout
The sign face includes an enclosed hanging opening. Check that its placement suits your hardware.
See the file and download →
210 × 140 mm (8.27 × 5.51 in) finished layout
The sign face includes an enclosed hanging opening. Check that its placement suits your hardware.
See the file and download →
210 × 110 mm (8.27 × 4.33 in) finished layout
The sign face includes an enclosed hanging opening. Check that its placement suits your hardware.
See the file and download →
160 × 180 mm (6.3 × 7.09 in) finished layout
The sign face includes an enclosed hanging opening. Check that its placement suits your hardware.
See the file and download →
200 × 140 mm (7.87 × 5.51 in) finished layout
The sign face includes an enclosed hanging opening. Check that its placement suits your hardware.
See the file and download →
150 × 185 mm (5.91 × 7.28 in) finished layout
The sign face includes an enclosed hanging opening. Check that its placement suits your hardware.
See the file and download →
150 × 210 mm (5.91 × 8.27 in) finished layout
A teardrop sign face with a hanging opening. Check the hole position and size against your own hardware.
See the file and download →
140 × 170 mm (5.51 × 6.69 in) finished layout
A house-shaped face and a separate folded easel support. The stand is a paper construction; it does not specify a material thickness for a rigid slot.
See the file and download →
160 × 200 mm (6.3 × 7.87 in) finished layout
A full back plate and smaller overlay for your own wording. The pieces arrive side by side; centre the smaller plate on the back.
See the file and download →
240 × 85 mm (9.45 × 3.35 in) finished layout
A full back plate and smaller overlay for your own wording. The pieces arrive side by side; centre the smaller plate on the back.
See the file and download →
210 × 140 mm (8.27 × 5.51 in) finished layout
A full back plate and smaller overlay for your own wording. The pieces arrive side by side; centre the smaller plate on the back.
See the file and download →
51.4 × 60.62 mm (2.02 × 2.39 in) finished layout
An original connected clover silhouette; no wording or brand is included.
See the file and download →
62.4 × 62.4 mm (2.46 × 2.46 in) finished layout
An original connected clover silhouette; no wording or brand is included.
See the file and download →
75.89 × 120 mm (2.99 × 4.72 in) finished layout
An original horned-horse profile with a mane edge. It is a generic animal motif, not a licensed character.
See the file and download →
45 × 45 mm (1.77 × 1.77 in) finished layout
A small blank with a central attachment hole. Measure your own hardware.
See the file and download →
38.97 × 45 mm (1.53 × 1.77 in) finished layout
A small blank with a central attachment hole. Measure your own hardware.
See the file and download →
45 × 45 mm (1.77 × 1.77 in) finished layout
A small blank with a central attachment hole. Measure your own hardware.
See the file and download →
45 × 45 mm (1.77 × 1.77 in) finished layout
A small blank with a central attachment hole. Measure your own hardware.
See the file and download →
60 × 30 mm (2.36 × 1.18 in) finished layout
Fold the side triangles toward the centre to form a corner sleeve. Join the overlapping flap edges without closing the page pocket.
See the file and download →
38 × 150 mm (1.5 × 5.91 in) finished layout
A long bookmark blank with a top hole for your own cord or tassel.
See the file and download →
38 × 150 mm (1.5 × 5.91 in) finished layout
A long bookmark blank with a top hole for your own cord or tassel.
See the file and download →
38 × 150 mm (1.5 × 5.91 in) finished layout
A long bookmark blank with a top hole for your own cord or tassel.
See the file and download →
38 × 150 mm (1.5 × 5.91 in) finished layout
A long bookmark blank with a top hole for your own cord or tassel.
See the file and download →
60 × 70 mm (2.36 × 2.76 in) finished layout
A geometric example for 60 mm top diameter, 60 mm bottom diameter and 70 mm vertical height, with 8 mm overlap. Not a branded cup template.
See the file and download →
75 × 110 mm (2.95 × 4.33 in) finished layout
A geometric example for 75 mm top diameter, 75 mm bottom diameter and 110 mm vertical height, with 0 mm overlap. Not a branded cup template.
See the file and download →
90 × 60 mm (3.54 × 2.36 in) finished layout
A geometric example for 90 mm top diameter, 70 mm bottom diameter and 60 mm vertical height, with 0 mm overlap. Not a branded cup template.
See the file and download →
90 × 100 mm (3.54 × 3.94 in) finished layout
A geometric example for 90 mm top diameter, 60 mm bottom diameter and 100 mm vertical height, with 0 mm overlap. Not a branded cup template.
See the file and download →
90 × 100 mm (3.54 × 3.94 in) finished layout
A geometric example for 90 mm top diameter, 60 mm bottom diameter and 100 mm vertical height, with 6 mm overlap. Not a branded cup template.
See the file and download →
120 × 120 mm (4.72 × 4.72 in) file canvas
A continuous spiral paper strip. Roll from the outer tip and secure the inner end on a separate base; finished diameter depends on how tightly it is rolled.
See the file and download →
104 × 104 mm (4.09 × 4.09 in) file canvas
A connected flower layer. Stack and shape separate copies; the finished flower height and diameter depend on your arrangement.
See the file and download →
104 × 104 mm (4.09 × 4.09 in) file canvas
A connected flower layer. Stack and shape separate copies; the finished flower height and diameter depend on your arrangement.
See the file and download →
65 × 150 mm (2.56 × 5.91 in) finished layout
A decorative paper panel with a leaf aperture. It is not a complete lantern and is for unlit decoration only.
See the file and download →
95 × 125 mm (3.74 × 4.92 in) finished layout
A decorative paper panel with a leaf aperture. It is not a complete lantern and is for unlit decoration only.
See the file and download →
82.47 × 85.98 mm (3.25 × 3.38 in) finished layout
A connected petal layer with a central attachment opening.
See the file and download →
100 × 87.88 mm (3.94 × 3.46 in) finished layout
A connected petal layer with a central attachment opening.
See the file and download →
110 × 110 mm (4.33 × 4.33 in) finished layout
A connected petal layer with a central attachment opening.
See the file and download →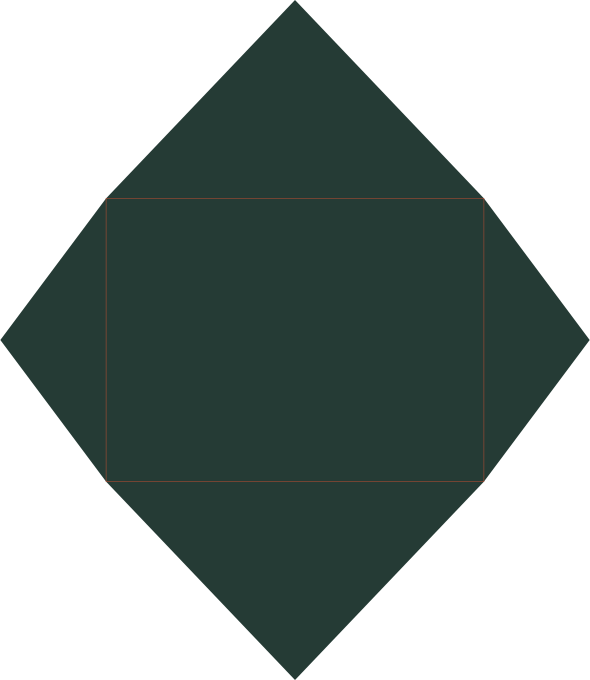
100 × 75 mm (3.94 × 2.95 in) finished layout
Fold the side flaps inward, then the bottom flap; join only the overlapping flap edges. The top flap closes last. Nominal pocket dimensions exclude paper thickness.
See the file and download →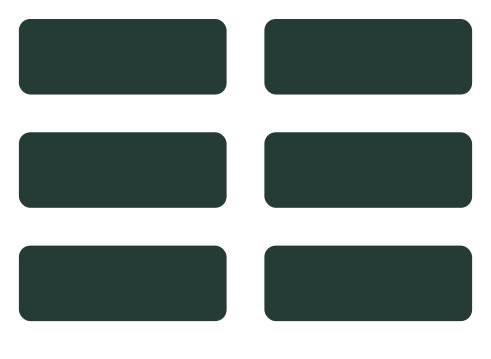
120 × 80 mm (4.72 × 3.15 in) finished layout
Six rectangular label outlines arranged with space between them.
See the file and download →
160 × 25 mm (6.3 × 0.98 in) finished layout
A ruler outline with a 0–140 mm scale. Marks are spaced by 1 mm in the SVG; longer marks identify 5 and 10 mm intervals.
See the file and download →